To create a checklist step by step and gain more general insights into it, please click here.
In this article, you can find detailed explanations about the recurrence configuration checklist option.
The first option to choose is how often will the checklist repeat:

- One time means only once and after that, never again.
- When clicking on 'Recurring', you get an additional menu:
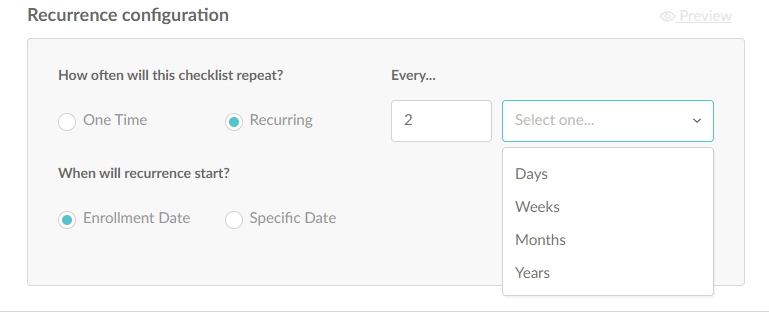
From there, we can choose how often you want your checklist to recur and the value that number presents (days, weeks, months, or years).
Below that, you can choose the start of that recurrence:
- On the enrollment date (when an employee becomes enrolled in the checklist, either manually or by matching its assignment criteria)
- On the specific date (choose the exact date that you want and additional information will open up)
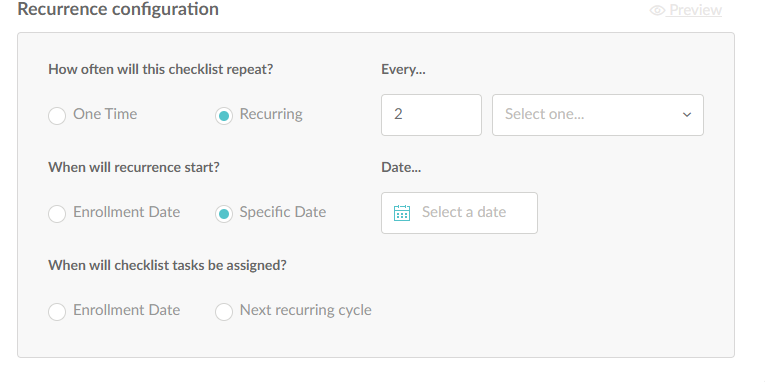
In this additional menu, you can choose when will checklist tasks be assigned:
- On the enrollment date (when an employee becomes enrolled in the checklist, either manually or by matching its assignment criteria automatically)
- In the next recurring cycle (the next one that should be run e.g. if the recurrence start date is in the future, by selecting Next recurring cycle, the tasks will be triggered on that specific date in the future, but if the recurrence start was in the past, tasks wouldn't be assigned right away (on enrollment date) but at the beginning of the next recurring cycle).
After setting up the recurring checklist, you can preview its schedule by clicking on the 'Preview' button and make sure your timeline is set up the way you wanted it.