Important Notes:
All changes must be done in ADP before importing in HR Cloud.
Make sure all positions, departments, or salary changes are effective in ADP.
1. Go to ADP and click on the Employment Profile of a terminated employee.
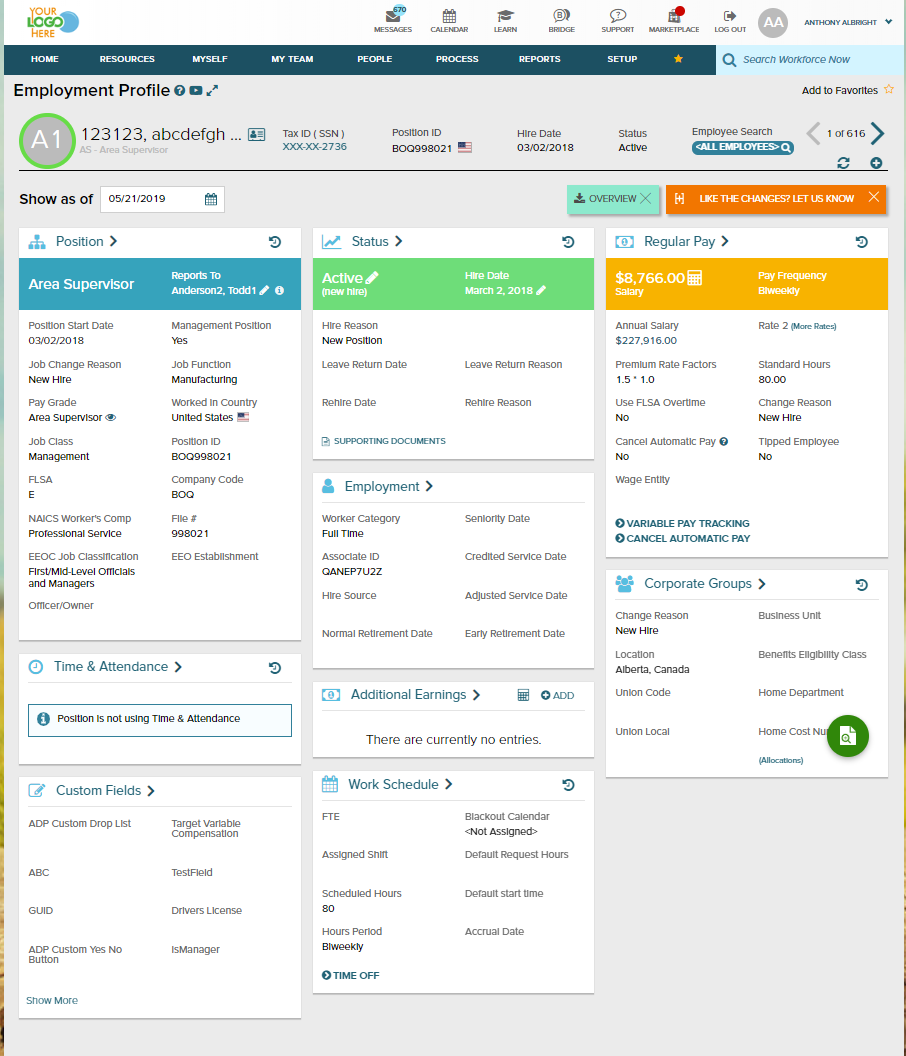
2. On the employment profile click on the edit button next to his terminated status.

3. Change the status of the employee to active and Start rehire.

4. In the next section, set the Rehire date and Rehire reason. On this date, and if the automatic import is enabled, the changes will be imported to HR Cloud and the employees will be able to access their account. You can add notes if needed, and upload additional files. Click Next.

5. Review the data and Submit.

6. If you want to manually import the data to the HR Cloud prior to the automatic import, please log in to the HR Cloud, and start Import from the ADP Integration tab inside the System settings.

7. KEYNOTES
To automatically assign the checklist tasks in the HR Cloud, you will need to set up a checklist with the rehire schedule. Otherwise, the tasks won't be triggered for the rehired employee.
Under Settings - ADP, you can enable the setting "Skip employee import if future hire history exists" so any future pending or approved hire history will not be updated during the import.
Also, if the employees already existed in the HR Cloud (as terminated), the rehire process will archive all of their previous tasks.